Read on to find out how Danyaal built their own microscope out of the humble Lego brick….
Constructing a Simple Microscope!
Microscopy has allowed us to observe and study the most miniscule of life, which has been used to further our understanding of organisms. While I adore physics, I have been extraordinarily interested in inventing; I wanted to construct a microscope. Heading online, I found a method that was well known in the science community, consisting of a laser pointer and droplet of water.
It was a great experiment to do, taking only 1 to 2 hours to construct and gather data!
How to construct a “microscope”
The principle of a typical light microscope is to zoom into the object you want to observe, for example, microbes in a water droplet. However, it can also function in the opposite way, by projecting the droplet by using its convex surface.
To achieve this, you will need:
- A laser pointer (any works, but red is better as chances of eye damage are low)
- A syringe
- Any items to support the syringe (e.g., plastic cups, paper, Lego)
- A cup of water from a plant pot or the ground
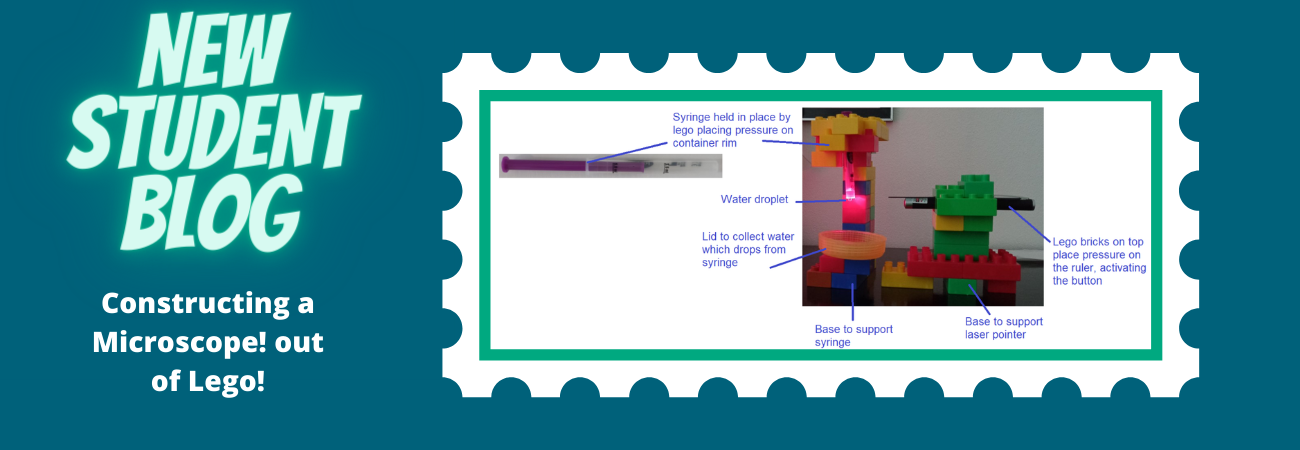
There are no clear instructions on how to build it, as long as the syringe and laser pointer are stable and aligned.
Mine is constructed by large Lego blocks I had in the attic.
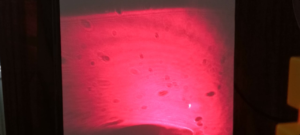
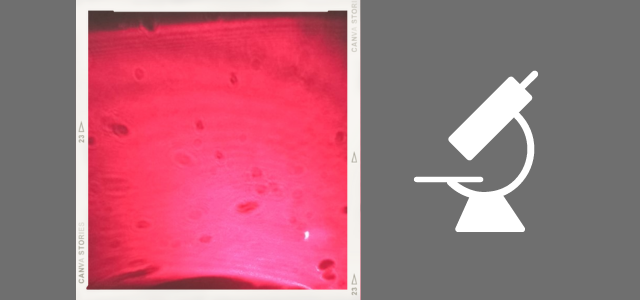
Once you have constructed it, turn the laser projector towards a white, non-reflective surface, such as a wall or a few sheets of paper. You should observe a large projection of your laser colour, with an abundance of black and grey circles moving around.
The black spots are microbes living in the water, and they move: most by lightly blowing on the droplet causing them to swirl in the water, and few by their own power. Any large, opaque clumps are grains of soil, while the circles with a small, white outline are microbes.
Water from ice has a similar effect, as bacteria can reproduce easily on ice. However, boiled water, or tap water have little to show, as the heat and chlorination kills most of them. However, few do survive and can be observed.
Safety
Do not shine the laser directly into your eye. Exposure directly into your eye can cause damage. When using other colours, they can cause even more damage, as they are more powerful.
Do not drink the water if it’s contaminated with soil. Use a plastic cup to hold the water and dispose of it afterwards (recycle), or thoroughly wash after use.
Magnification: My results
After experimenting, I investigated the magnification of the microscope. Here are the results.
| Approx. distance of droplet from paper (cm) | Real size of droplet (cm) | Approx. image size of droplet (projection) (cm) | Magnification (image/real) |
| 10cm | 0.4 | 7 | X 17.5 |
| 20cm | 0.4 | 14.5 | X 36.25 |
| 30cm | 0.4 | 20cm | X 50 |
At a distance of 10cm, the real size (0.4cm) was magnified to an image size of approx. 7cm. Magnification was x17.5.
As distance doubled to 20cm, the droplet magnified to 14.5cm, a double of the original image size. Magnification was x36.25
The pattern remained; at 30cm (triple the first distance), the image size tripled to approx. 20cm. The magnification tripled from x17.5 to x50. (17.5 x 3 = 52.5)
As distance increases by a factor of y, the image size and magnification also increase by a factor of y.
The Physics behind the Projection
Laser pointers, unlike a torch, project a straight beam of light. When this light comes into contact with the droplet, a projection occurs; the droplet has a convex surface, which disperses the light and magnifies anything inside (the microbes, and particles of soil).
The further the droplet is from the projection, the weaker the image will be as the light intensity decreases.
I hope that you enjoyed reading my blog, and will endeavour to create your own microscope, beginning your exploration of the microscopic world!

